

How To Remove Rust From Bike Disc Brakes
How to Remove Rust From Brake Rotors
Rusty rotors peeking out from backside your expensive alloy wheels? Here'south how to remove rust from brake rotors.
Every editorial product is independently selected, though we may be compensated or receive an chapter committee if you lot buy something through our links. Ratings and prices are accurate and items are in stock as of fourth dimension of publication.
Introduction
The popularity of alloy wheels puts brake rotors on full display. Rotors, withal, must be made from heavy, heat-resistant, metal—unprotected metallic that easily rusts* under the harsh weather of a cycle well. The unsightly discoloration showing through their expensive alloy wheels leads many people to ask how to remove rust from restriction rotors. You can make clean upwardly rusted rotors in several ways, depending upon how bad information technology is. Nosotros'll walk you through the procedure from easiest to almost-labor intensive to assistance y'all go the job washed.
The well-nigh important rubber tip you must find: No lubricant (such equally WD-40) or permanent coating should ever be practical to the braking surface of the rotor. Period.
*Rust appears on the surface while corrosion is bodily damage that goes deeper than the surface. If the rotors accept corrosion, they will demand resurfacing or replacement.
Tools Required
Materials Required
- Brake cleaner spray
- Commercial cleaner or distilled white vinegar
- Non-oily rags
- Steel wool
Project stride-by-pace (ix)
Step 1
Bulldoze the Automobile

You will likely start to run into some rust forming on the rotors if the vehicle sits in one identify for a few days. Remove this superficial rust by just driving. Have the vehicle out for a spin that includes some end-and-go driving, then check the rotors. If the corrosion remains visible, take it to the next level. Find a deserted street or an empty parking lot. Start the vehicle in motion, getting upwardly to x mph or and then, and then restriction hard. Repeat this process a few times and check the rotors over again. If you still run across rust, then move to the side by side step.
Step two
Rotor Cleaning Prep
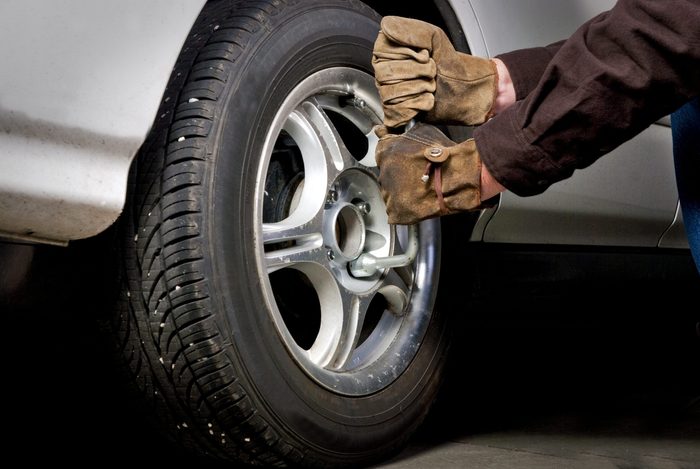
Ever place chocks behind the wheels of the beam you are not working on.
Loosen the lug nuts on the bike you lot are working on, and then use a floor jack to bring the bicycle off the ground. We highly recommend using a jack stand in addition to a flooring jack equally a secondary safe measure. Remove the wheel to expose the rotor.
![]()
Step iii
Remove the Caliper and Pads, if Necessary
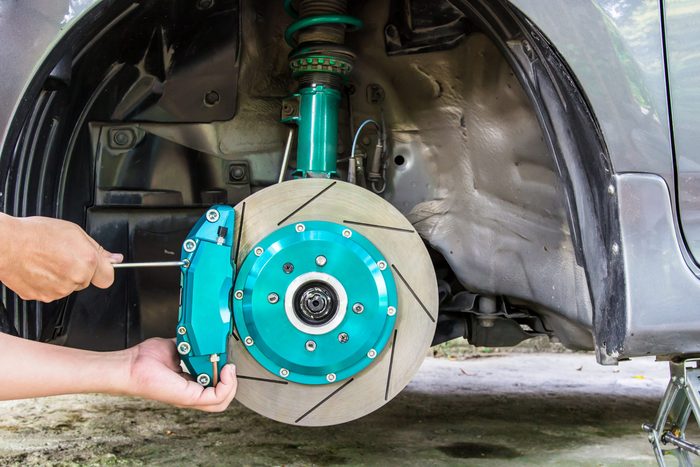
The rotor can be cleaned with the pads and caliper in identify, but it may be easier to exercise if yous remove them. Here's how: Employ a box-end wrench to loosen the bolts property the caliper assembly to the guide pins on the caliper subclass and remove them. Lift the caliper assembly free of the rotor and secure it in a position in the wheel well where it tin hang without causing impairment to the brake line. Erstwhile wire clothes hangers work very well for this task, but caliper hangers are likewise sold in nearly machine stores. Use a box-cease wrench to loosen and remove the bolts securing the caliper subclass (which holds the pads). Remove this and fix aside.
Pace four
Inspect the Pads
Every bit long as the brakes are apart, nosotros recommend that you take a moment to inspect the pads for glazing on the surface (a crystalline appearance). It'southward too a good time to measure out the thickness of the brake pads. Annihilation less than 4 mm of depth should exist replaced. Likewise, check the caliper piston boot and guide pin boots for tears. Any loss of integrity found on these boots exposes the moving parts to dirt and corrosion that can cause them to seize. This must be addressed right away.
Step 5
Use Restriction Cleaner to Remove Rust From the Rotors
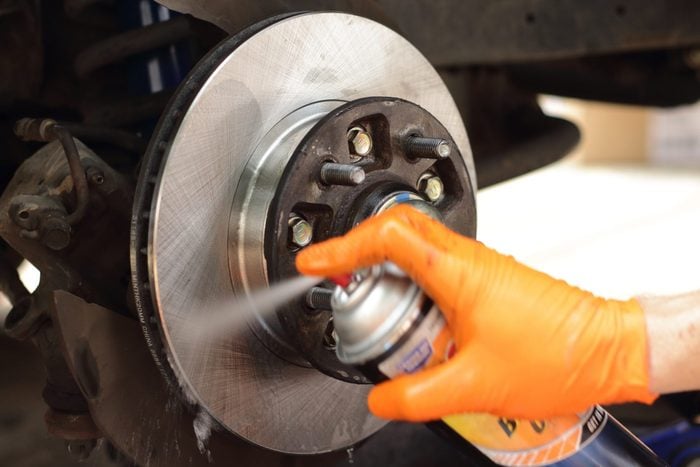
Put down a tray to catch any runoff, then spray the rotor with restriction cleaner. Let the rotor dry, then wipe it with a clean rag (no oil on the rag). If some rust remains, utilize more brake cleaner and work the surface with steel wool or a wire castor. Wipe off the rotor and cease with a final shot of cleaner. This should be done in a well-ventilated area.
Pace 6
A Annotation About the Caliper Assembly
As mentioned before, the caliper associates may exist left in place, merely you will have to turn the rotor to admission the area covered by the pads. Brake cleaner will not impairment the pad lining, but excessive application may touch the adhesion of the lining to the pad backing, so don't go overboard.
Step 7
Bath Time
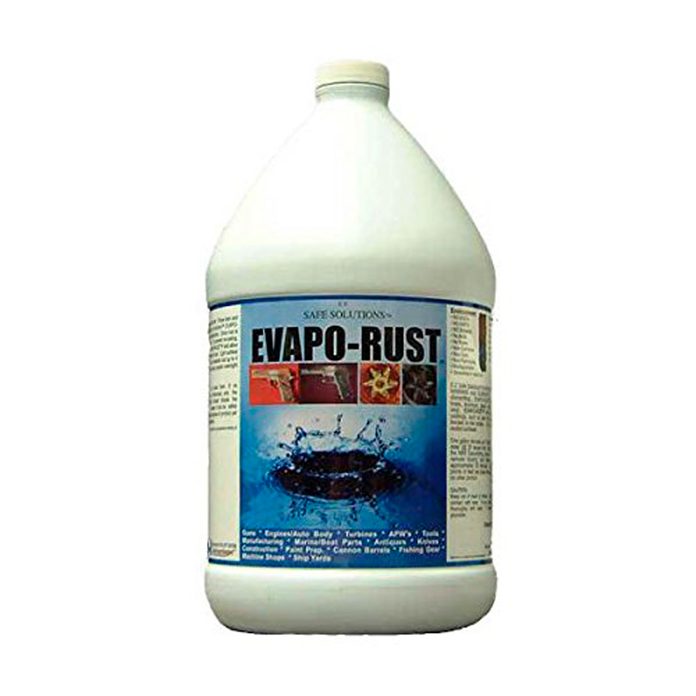
If brake cleaner and some elbow grease doesn't practice the trick, remove the rotors (if the caliper associates and bracket are removed, this may exist every bit simple every bit using an impact screwdriver to loosen an anchor screw (non present on all vehicles), and and then sliding the rotor off the lugs. Try commercial cleaners, such as CLR and Evapo-Rust, for stubborn rust removal. These products assail the rust without affecting the metal beneath. A more eco-friendly alternative is vinegar, although it may not piece of work as well as the commercial cleaning products.
If needed, scrub with steel wool or a wire brush, being conscientious non to score the surface of the rotor. Rinse and wipe dry.
Footstep 8
Reassemble

Once the rotors are clean, work backward to reassemble the brakes and remount the bike. A big C-clamp may be required to retract the piston in the caliper assembly so it will fit over the restriction pads. And, the lug nuts should exist torqued only after the vehicle is downwards off the jacks.
Footstep 9
A Preventative Measure
Because removing rust from rotors is a corrective exercise (normal use of the vehicle keeps it in bank check), painting the hub will improve the appearance and forbid the non-braking surface of the rotors from becoming unsightly.
Before mounting a new set of rotors, apply brake caliper paint to the middle section of each. Tape off the braking surface earlier painting to protect information technology from contamination, and paint just the dome that fits over the hub. After painting, use some brake cleaner on a cloth to wipe away any remainder from the tape.
Originally Published: Dec 17, 2022

How To Remove Rust From Bike Disc Brakes,
Source: https://www.familyhandyman.com/project/how-to-remove-rust-from-brake-rotors/
Posted by: shumakeroppre2002.blogspot.com
0 Response to "How To Remove Rust From Bike Disc Brakes"
Post a Comment